![]()
It seems appropriate that I start my Spitfire build this week, the anniversary of the ‘Battle of Britain’ despite being far behind many club members by way of progress. In fact some have completed 2 already.
But it’s not a competition, more a group build challenge so I hopefully still have enough time to complete before the August deadline.
As mentioned in the Intro, I am starting with the Revell MkIIa kit number 03986. As with most aircraft kits the build starts with the cockpit. The detail is quite fine, a high number of small parts spread over all the sprue frames. Finding the parts was tedious as the parts are numbered and located on lettered frames but the parts diagram only shows the number not a letter prefix so you have to check all the frames. The letters provide no help apart from the initial check against the parts diagram.
| While removing the parts I did note a lot of flash (fig 1). A surprise for a kit that’s only been about for 5 years, hopefully this is not a common problem. When this kit came out is picked up a few awards and it certainly is covered in exquisite rivet and panel detail. The cockpit looks well appointed as it comes, certainly more than you’d expect for the price tag. However I wanted to speed this build along so am using a pre-finished etched brass panel. | 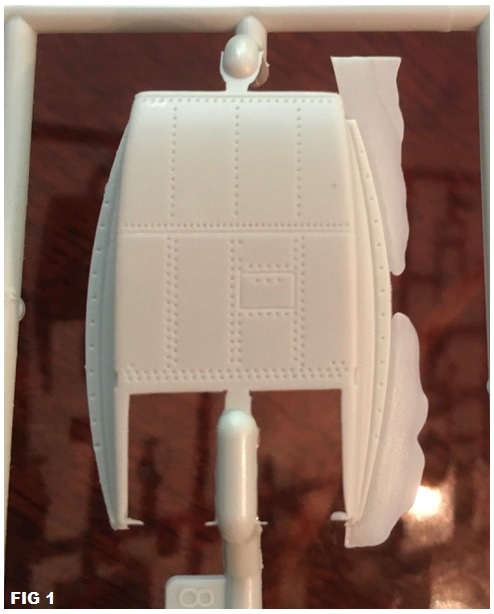 |
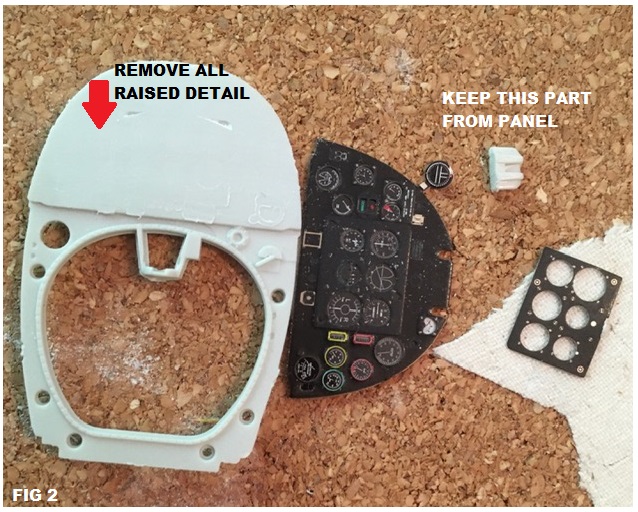
To use this I needed to remove all the raised detail on the plastic panel (fig 2). I’d been made aware by Alan that the cockpit construction was fragile. I’d also picked up from Mike that the nose area of the fuselage on his build kept splitting apart along its join due to pressure. Both these reasons made me adopt a different approach to building the cockpit once the floor and front bulkhead were made. |
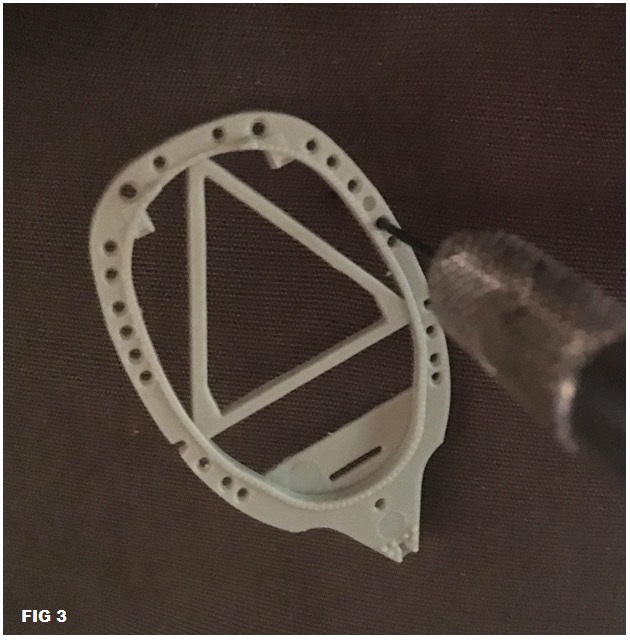 The chair was made as a separate unit and attached to its bulkhead after drilling out the flash from the lightening holes (fig 3). This was left un-fitted, but the rear most bulkhead was glued in place. The chair was made as a separate unit and attached to its bulkhead after drilling out the flash from the lightening holes (fig 3). This was left un-fitted, but the rear most bulkhead was glued in place. |
| The sides of the cockpit had their locating ribs removed and were glued onto the Spitfire’s fuselage walls and while still drying the tub placed and glued to one side only so the whole fuselage could be brought together as a dry fit to check placement. A quick flick around with Plasti-weld glued the parts in situ and ensured the rear bulkhead was snug into the spine of the aircraft but left the fuselage able to separate with the side panes stuck to the inner walls. (Fig 4 and 5). | 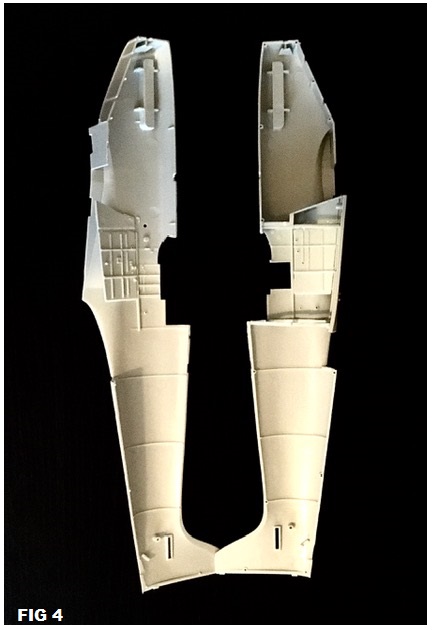 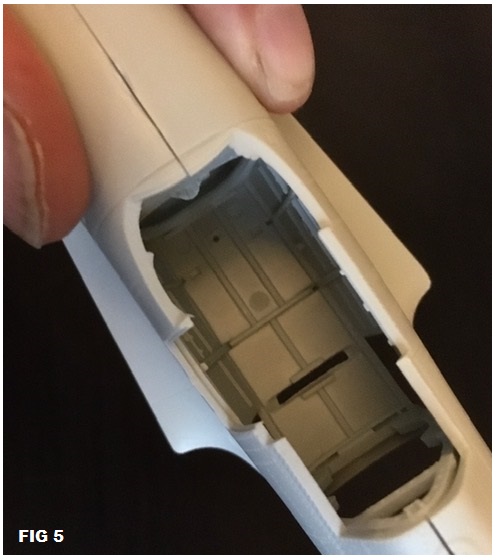 |
Before going any further I’ll need to start airbrushing some colour so as not to create recesses I can’t get the paint into.