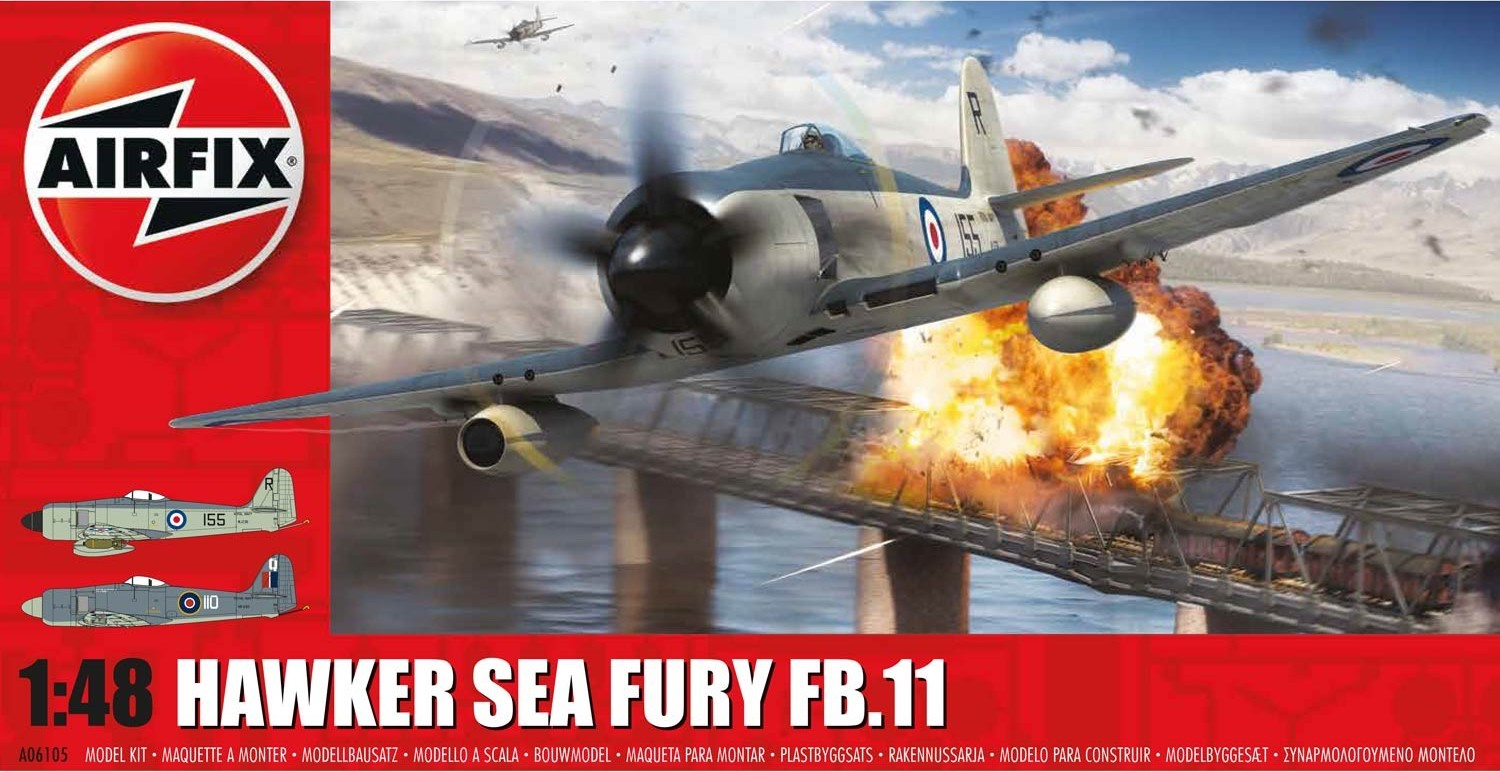
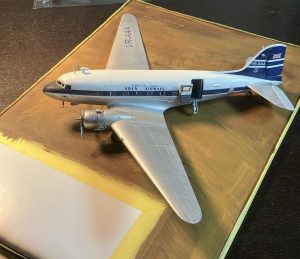
 The third and final instalment of my Airfix naval fighters trilogy is the much anticipated Sea Fury; to my eyes one of the most purposeful and handsome looking aircraft ever to fly. In 1:48 scale there have been kits by Hobbycraft – (good overall shape and dimensions, but very basic detail) and more recently Trumpeter – (festooned with over-scale rivets and some erroneous details). There has also been an AMG kit that arrived just as Airfix announced theirs, so I haven’t seen or heard much about what they’re like – although I do have one in the stash…
Reviews of the Airfix kit have been generally positive – but there have been some annoying glitches. Almost all the kits seem to have mould defects of one sort or another. My example had the “short shot” leading edge to the tail fin; others have had similar problems with the rear bulkhead in the cockpit and the trailing edge of the cowling. And whilst on the cowling, some reviewers have reported that the diameter of the two semi-circular centre panels is slightly smaller, when joined together, than the front and rear rings, causing a step; also that the panel line between the two semi-circular parts is too low. (There is a resin replacement cowling from Aerocraft models that apparently addresses these issues – I have a couple on order…).
The cockpit goes together very nicely. There are no less than six decals for the instrument panel that look great once settled over the raised detail. The sidewall detail is done as a framework that slots into the front and rear bulkheads. Less satisfactory is that Airfix have completely omitted a gun sight – they were a prominent feature of the real thing – there is no padded headrest and no pilot, which won’t trouble some, but I always thought the option of a crewman was a nice touch about Airfix kits.
 The cockpit is almost all black, so in fact not much of the detail is likely to be seen. Also trapped between the fuselage halves is a spar that serves as the front wall of the undercarriage bay – and here we have the first taste of “Hawker yellow” – a sort of pale sandy yellow colour that seems to have been used as a primer or protective coat for various internal parts of the airframe. Having heard Brian (Rose) declare that he thinks Humbrol enamels are now redundant (and he might well be right) and being the contrary *** that I am, I decided to build this kit using (almost) only those paints! I followed Airfix’s suggestion of using Humbrol 74 “linen” for this colour. In my view it looks a little too yellow – almost a zinc chromate shade – instead of the more sandy beige that I have seen in pictures, but I stuck with it.
 Before gluing the fuselage halves, I taped them together to mark out exactly the size of the missing “short shot” part of the fin. I then glued a piece of thin plasticard strip to the “complete” side of the fin, which I could then blend in to replace the missing plastic.
As with the Seafire, construction then went very smoothly and quickly, with a very good fit of the parts and little filler needed. I have yet to build a model with the wings folded, and this one was not going to be the first. Unlike the Seafire, however, Airfix do not give you two complete sets of wings for spread and folded options. Instead, substantial spars are used to create a solid join across the wing fold. Some fettling of the join is required, but the fit was generally very good.
 There are four small raised panels along the top of the nose, right on the join between the fuselage halves. Inevitably these were lost to the tidying up of the seam, so I replaced them with thin plasticard – only to fail to see them on any photos of the real aircraft…. I was also able to rub down the strip of plasticard that I had used on the fin to blend it in.
The cowling on my copy of the kit seemed to go together quite well, but I still left it off in order to more easily paint the metal sections immediately aft of the exhausts. Departing briefly from my “Humbrol enamels only” rule, I used Tamiya gloss black acrylic followed by Alclad chrome to give a bit of bling to these panels.
The various control surfaces are all separate – I’m sure I have the rudder deflected the wrong way for the pedals in the cockpit, but they’re impossible to see…
And so to the paint. I primed the model with The Army Painter “Unifrom Grey”, and then pre-shaded with black as usual. My intention for this one was to depart slightly from the options in the box and build it as a F Mk 10 (rather than a FB Mk 11) in the “early” scheme where the extra dark sea grey extends all the way down the fuselage sides. The undersurface
Sky (Humbrol 90 – “beige green” as they call it) went on very nicely. I covered more of the pre-shading than normal for two reasons: first I felt that my recently completed Seafire looked too “shaded” and did not want to repeat that mistake; secondly, all the pictures I had seen of these aircraft in the early scheme showed them to be clean (and glossy). Moving on to the upper surfaces, I took up the Humbrol 123 “Extra Dark Sea Grey”, loaded up the airbrush and set to spraying. Immediately I noticed a number of very obvious swirls and lines in the finish, that looked totally unrealistic. I hadn’t seen these with the primer, and the Sky underside did not seem as affected – although there was some sign of them there too. Having bought a second copy of the kit, I looked carefully at the unpainted plastic, and the swirls and marks were all there – even in the same places…
I hoped that these marks would vanish under a gloss coat, so broke out the Klear floor polish in preparation for decals. I applied a heavier coat than normal, but the marks remained very visible. Not wanting to strip the kit back to bare plastic (and not knowing whether that would even solve the problem) I pressed on with the decals.

I had found a profile of a F Mk 10 in one of my reference books and so set about trying to reproduce the markings for that airframe. Those of you who attended the April 8th Flashmod might remember how confident I was that I would decal the whole model and even finish it completely in the six hours – and that I didn’t get close… The decals seemed thick and unwilling to settle into the panel lines.
It was only a good dose of Walther’s Solvaset when I got home that rescued that situation. There are also quite a number of stencils, that take time to apply.
I also made a rod for my own back in that I had no decals of the correct size and font suitable for the squadron number “120” on the fuselage. I ended up using the “1” and the “0” from the kit, together with the “2” from a generic sheet that I had to buy. Even then the “2” was not quite the right font and the “0s” were too narrow and of the “American” style with the angled corners.

In the end I chopped them up to try and create the size and shape I wanted… Final touches had to be made with white paint and a fine brush – they look ok from a distance. The underwing and rear fuselage serials were again made up from generic sheets – fiddly but worth it to avoid building the same airframe as everyone else.
Having eventually completed the decals, it was time for the moment of truth. Although the real aircraft were, as I mentioned, glossy, I hoped that my trusty Xtracolor matt varnish would rid the model of the swirls. And it worked like a dream – thank goodness. The grey took on a lovely, smooth and uniform flat finish. To bring some shine back, I gave the kit another coat of Klear – I wasn’t aiming for a high gloss as I don’t think that would look right on a model – but it was too matt without it.
One obvious difference between early F Mk 10s and the FB 11 Sea Furies is that the former had a four, rather than five bladed propeller. From the AMG kit in the stash I duly stole the four bladed prop and spinner and used them.
The undercarriage fits well and, the Mk 10 not having the ability to carry bombs, rockets or even, I think, drop tanks, that was about it for the detail parts – it was done!
I am bound to say I loved building this kit. Fit was good, panel lines are petite and it is just such a good looking machine. There are some annoying glitches that detract a little from the experience, but overall it is a great product that Airfix have given us. I would recommend it to anyone.

Nick W.


